Get Started with Dash0
Dash0 is an OpenTelemetry-native platform that closes the loop from code to production — governing what AI builds, observing everything in production, and fixing problems autonomously.
This guide walks you through creating your account, sending your first telemetry data, and exploring Dash0.
Already have an account? Sign in and head to onboarding to start sending data. If you have an invitation, follow the link in your invitation email to access your organization.
Step 1 — Create Your Account
Navigate to accounts.dash0.com/sign-in and click Sign up at the bottom of the page. You can sign up with a Google account, GitHub account, or email address. If you register with an email address, a verification code will be sent to your inbox. Enter this code to complete sign-up.
Once signed in, you are prompted to define the name of your organization and to set your data storage region.
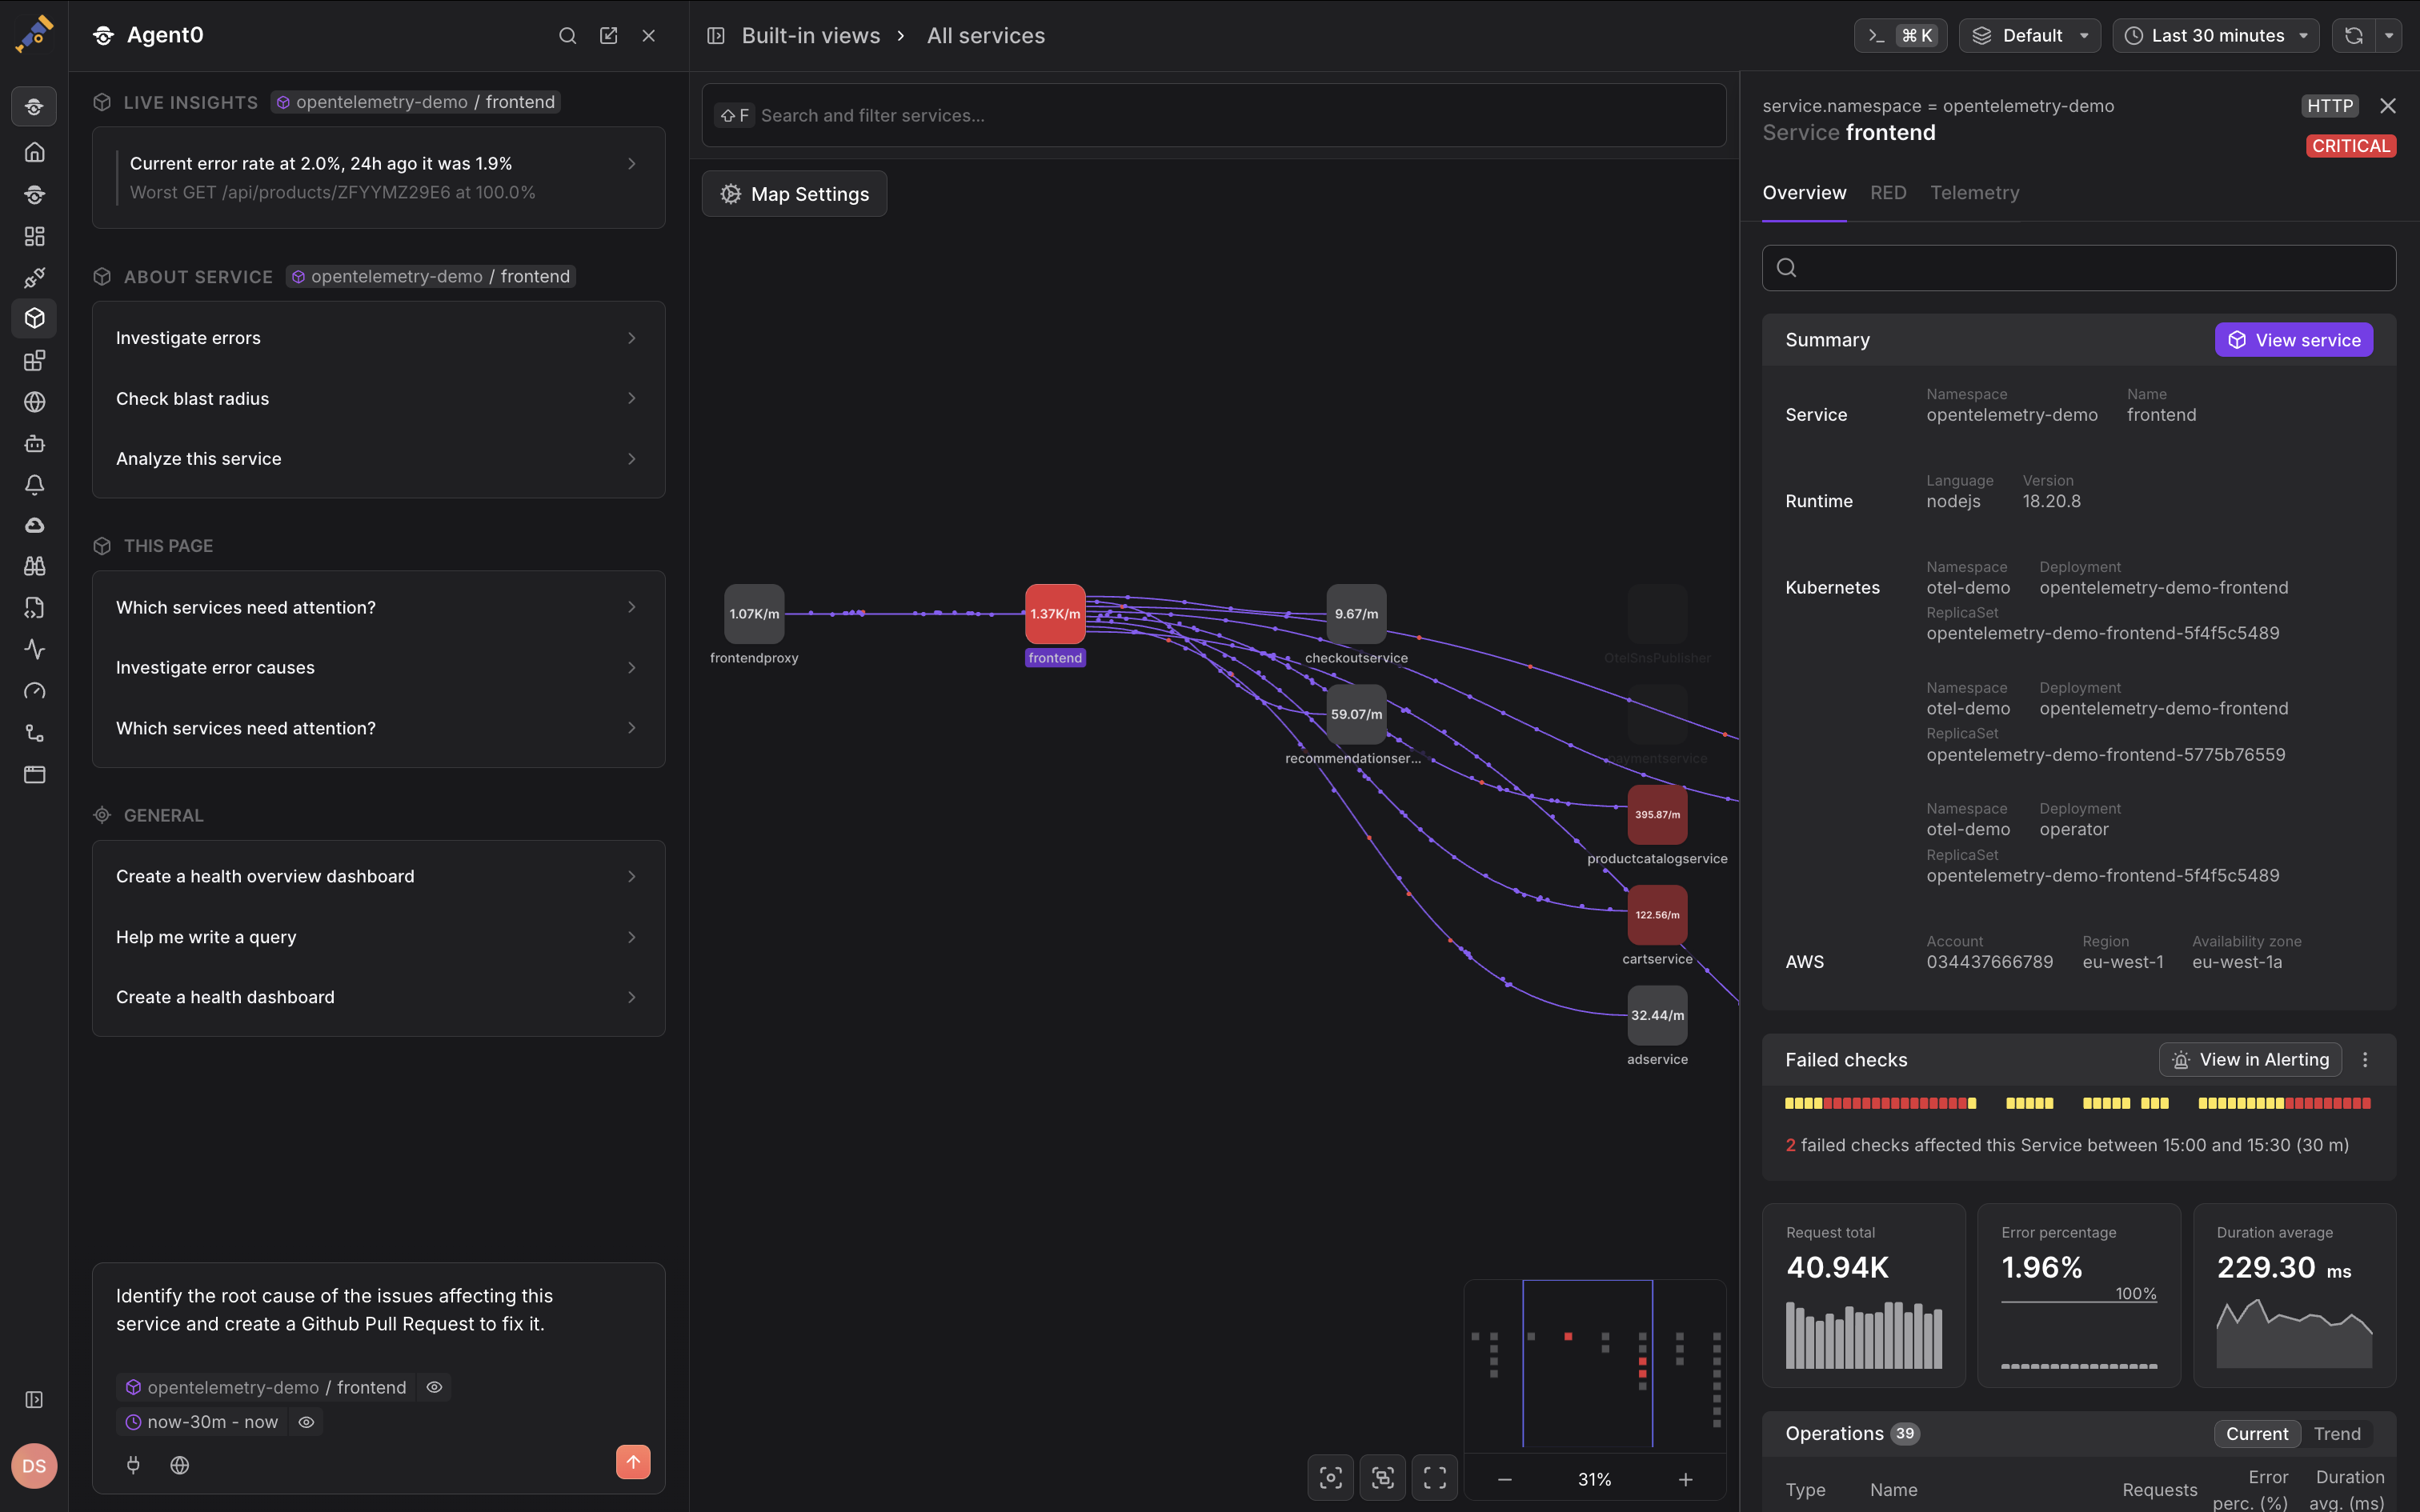
Next, Dash0 will either open the in-app onboarding (if you haven't sent data yet) or take you directly to the Dash0 homepage where you can explore your telemetry data.
You can also explore the platform using the built-in OpenTelemetry demo application while you set up your own services.
Step 2 — Send Your First Data
The fastest way to start sending data is using AI: ask Agent0 (Dash0's built-in AI assistant) or use external AI coding assistants connected via MCP (like Claude Code or Cursor) to help configure integrations. Alternatively, follow the in-app onboarding wizard for step-by-step guided setup.
Each integration in the in-app onboarding includes your endpoint and authorization token pre-filled, so that you can copy and run them directly. (No need to find this information in a Settings dialog.)
Dash0 supports a wide range of integrations across SDKs, cloud providers, technologies, and observability pipelines. Find detailed setup instructions for your specific stack in the Integrations Hub.
Step 3 — Explore Your Data
Once data is flowing, Dash0 takes you to the Dash0 homepage — your starting point for exploring services, traces, logs, and metrics.